

How To Set Resource Pack In Minecraft Server
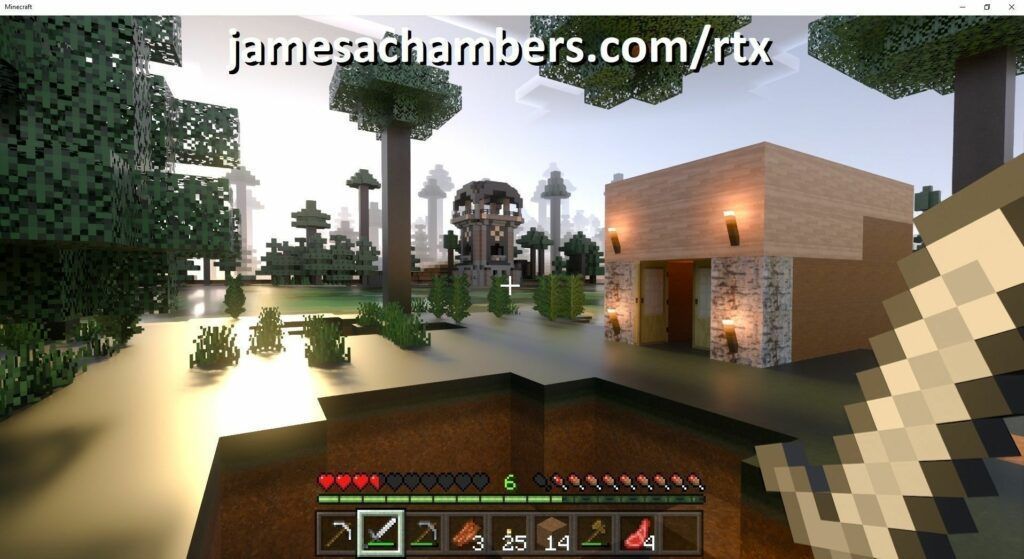
On December 8th NVIDIA officially released RTX support on Minecraft Bedrock Edition for Windows 10. To use this characteristic you demand to have a resource pack installed.
Fortunately the dedicated server non simply supports resource packs, but in this guide I will bear witness y'all how to ready information technology upward so that resource packs are automatically downloaded to your player'due south device and activated!
The featured prototype for this commodity is not unmarried player. Information technology is running on my Minecraft Bedrock dedicated server
Prerequisites
If yous don't take a Minecraft Bedrock Edition dedicated server already view my automated setup script and guide get-go to get one up and running.
You will besides need to have a resource pack / packs in mind. For this guide I will apply the RTX enabled 512×512 feature pack. This resources pack is available on GitHub for costless.
All of these versions support cantankerous-platform play with each other (merely non with the Java edition).


The Sony PlayStation version of Minecraft: Bedrock edition.
Links: Amazon.com*, Amazon.ca*, Amazon.com.au*, Amazon.co.jp*, Amazon.co.britain*, Amazon.de*, Amazon.es*, Amazon.fr*, Amazon.it*, Amazon.nl*, Amazon.se*, Amazon.sg*
This is the Nintendo Switch version of Minecraft: Boulder edition.
Links: Amazon.com*, Amazon.ca*, Amazon.com.au*, Amazon.co.jp*, Amazon.co.u.k.*, Amazon.de*, Amazon.es*, Amazon.fr*, Amazon.it*, Amazon.nl*, Amazon.pl*, Amazon.se*, Amazon.sg*

Preparing the Resource Pack
Resource packs can be bundled a couple of different means. The first way is the way that the case we are using in this guide is packaged. It looks like this:
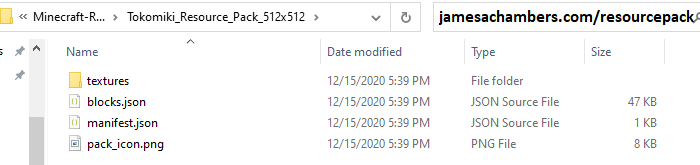
We have the master folder (Tokomiki_Resource_Pack) that volition comprise a manifest (manifest.json). If your resources pack looks similar this you're skilful to get. You tin skip to the next step.
The second style that resource packs are oftentimes distributed is as 1 solid .mcpack file. An case of this is NVIDIA'south RTX texture example pack (scroll down to "NVIDIA and Partner Resource Packs" section, they take a few different ones yous can play with, the one in this example is the PBR textures).
If your resource pack looks similar this and is a .mcpack it is not good to become and we're going to have to extract the files nosotros want out of information technology. Fortunately this is very easy. All you have to do is rename it from a .mcpack file to a .zip file. I'm non joking, go alee and try it:

Perfect, that looks exactly similar what we desire and our previous example! Go alee and extract the zip archive into a new folder. It actually doesn't thing what you name the binder because the pack will be located by UUID and so just option something short and descriptive.
Examine the Manifest
Every resources pack contains a UUID, or a "universally unique identifier". This is what the server uses to identify which resource pack is which. Your resources pack'southward UUID is located in the manifest.json file. Let'due south take a look at our 512×512 instance pack'south manifest.json:
{ "format_version": 2, "header": { "name": "Tokomiki Test Textures 512k", "description": "Reducing RTX textures size","uuid": "75a26ecc-8351-11ea-bc55-0242ac130003","version": [ 1, 0, 1 ], "min_engine_version": [ 1, xv, 0 ] }, "modules": [ { "blazon": "resource", "uuid": "75a27110-8351-11ea-bc55-0242ac130003", "version": [ ane, 0, 1 ] } ], "capabilities" : [ "raytraced" ] } There it is. This particular resource pack'due south UUID is 75a26ecc-8351-11ea-bc55-0242ac130003. The version is [ 1, 0, 1 ]. Perfect, nosotros're now fix to configure the dedicated server!
Configuring Dedicated Server for Resource Packs
Commencement we need to copy/upload your resource pack to the server's "resource_packs" folder:
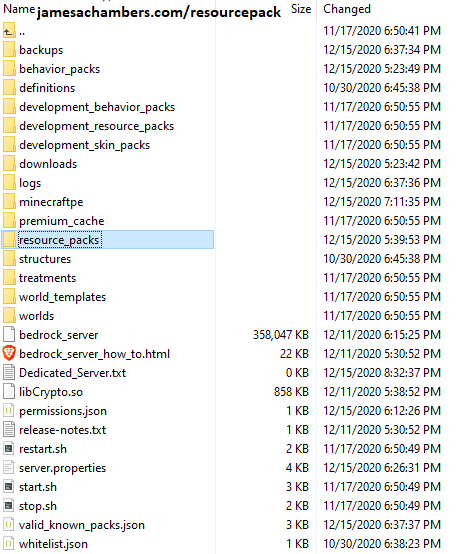
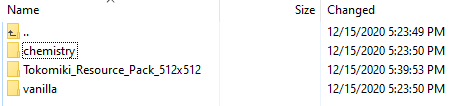
Your folder's structure may vary slightly depending on version and whether you are running on Windows or Linux. Either mode, you should have this folder. We are going to place the folder of our resources pack hither. Usually there will already exist a "vanilla" folder and a "chemistry" folder in there that are included with the server. We're going to add together a 3rd folder by coping in our new resource pack like this:
Splendid, there's just one last step now to enable the resource pack.
Create world_resource_packs.json
First you need to locate the folder on the server that your "globe" is stored in. The base of operations folder is only "worlds" but inside there volition exist some other directory inside of it. If you left your server.properties equally the default it volition likely exist "Boulder level". If yous ready a custom "level-name" variable in your server.properties file it should be that. This is your earth's folder.
The final step to enabling our resource pack is to create the world_resource_packs.json file within our world'southward folder you just located. This file is actually created and used on the client side as well when y'all modify your resources packs (information technology's at C:\Users\XyouruserX\AppData\Local\Packages\Microsoft.MinecraftUWP_8wekyb3d8bbwe\LocalState\games\com.mojang\minecraftWorlds\XyourworldX\world_resource_packs.json).
You can actually use that verbal file if you've applied the aforementioned feature pack you're trying to install on the server. The format of information technology is pretty simple though, so it'due south a lot easier to just create information technology yourself.
Go ahead and create a new file chosen world_resource_packs.txt (if on Linux you lot can but create it as world_resource_packs.json) and type/paste the post-obit matching the pack_id to your resource pack's UUID and version from the earlier steps:
[ { "pack_id" : "75a26ecc-8351-11ea-bc55-0242ac130003", "version" : [ 1, 0, 1 ] } ] Now salvage the file and rename it from world_resource_packs.txt to world_resource_packs.json.
That's it, now restart the server! Upon connecting new players will at present automatically download and apply your feature pack. They do not take to download or install it themselves. It volition look like this when they join:
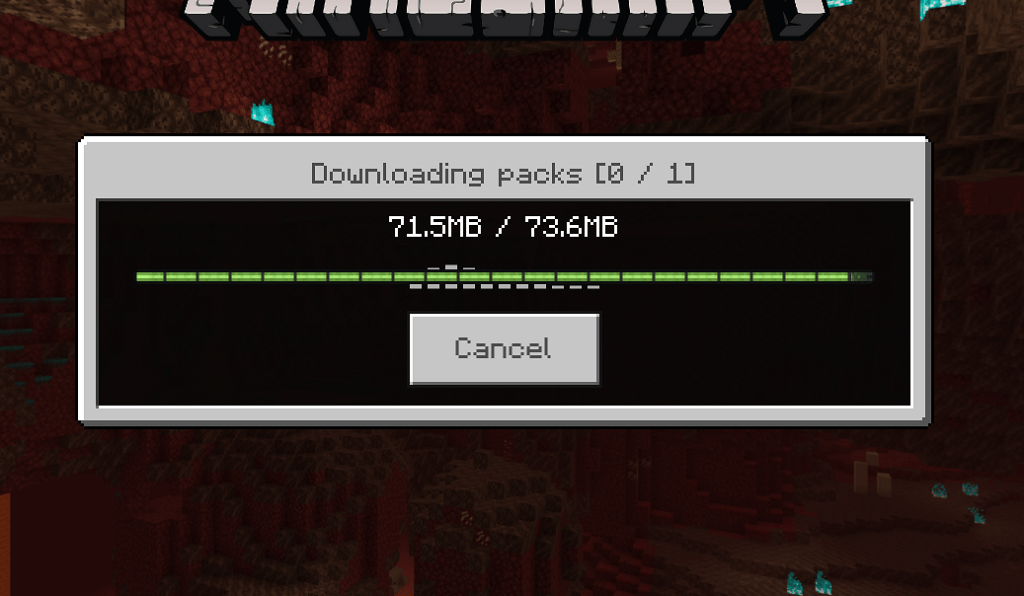
This download works on all platforms. For example, for this guide I tested connecting with my Android phone to try without using Windows and meet if it would still work. When you log on with a platform that doesn't back up RTX they will still see the new textures. They just won't accept the fancy RTX lighting and raytracing but it all the same looks neat compared to vanilla!
Adding Multiple Resource Packs
Y'all can add equally many resource packs as you want. Copy the additional resources pack folder to your resource_packs binder by before.
Updating the world_resource_packs.json file is similar to what we did earlier but the JSON syntax can become a little tricky. Here is how you desire to format adding multiple entries to world_resource_packs.json:
[ { "pack_id" : "75a26ecc-8351-11ea-bc55-0242ac130003", "version" : [ 1, 0, 1 ] }, { "pack_id" : "a1673412-cb04-4604-8000-04b6396afe80", "version" : [ 0, ix, 0 ] } ] Notice the comma subsequently the endmost brace of the first entry. It'southward super common to miss it and it is invalid JSON without it. The final entry will NOT have a comma, simply if y'all add a second, third, fourth it volition like this:
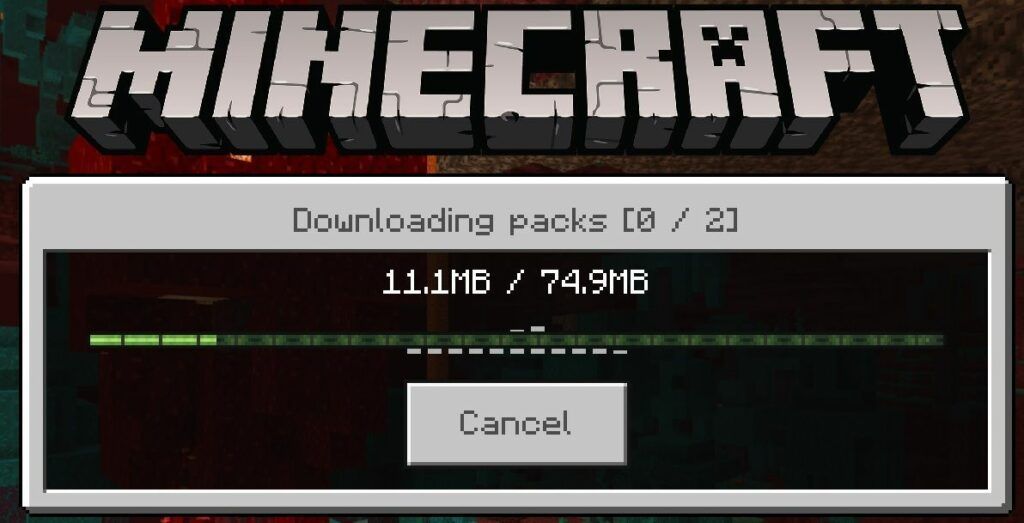
[ { "pack_id" : "75a26ecc-8351-11ea-bc55-0242ac130003", "version" : [ 1, 0, one ] }, { "pack_id" : "a1673412-cb04-4604-8000-04b6396afe80", "version" : [ 0, 9, 0 ] }, { "pack_id" : "fake instance 1", "version" : [ 0, 5, one ] }, { "pack_id" : "simulated example 2", "version" : [ 0, 2, 4 ] } ] That's information technology! Afterwards restarting your server newly connecting players that oasis't downloaded the resource pack yet volition see 2 (or more than) resource packs queued like this:
Force Resources Pack Using server.properties
The default settings for Minecraft is that connecting players will automatically download and use the resources packs they need so usually this isn't necessary. In some cases though y'all may want to actually strength them to utilise the resource pack. Otherwise they tin unload it or load unlike ones.
There is an choice in server.properties that volition absolutely force them to use them if yous desire. Open your server.properties file and await for these lines:
texturepack-required=simulated # Force clients to use texture packs in the current world # Allowed values: "true" or "false"
Change to true to force texture packs to be used!
Bedrock Server Automated Deployment Script
Here'south my one-liner to deploy a new Minecraft server on Linux:
curl https://raw.githubusercontent.com/TheRemote/MinecraftBedrockServer/master/SetupMinecraft.sh | bash
Encounter Minecraft Bedrock Edition – Linux Dedicated Server automatic installation/updating/backup script for full breakdown!
More than Resources
Minecraft Boulder Edition Dedicated Server on Raspberry Pi*
Source: https://jamesachambers.com/minecraft-bedrock-server-resource-pack-guide/
0 Response to "How To Set Resource Pack In Minecraft Server"
Post a Comment